



A whetstone is a low-cost way to keep your knives sharp for years. All you need is a knife, a stone and some water. It takes some practice, but once you have it, you can sharpen every knife in your kitchen yourself.
Want to compare other ways to sharpen first? Read our overview of sharpening options.

Before you start
Which whetstone do you need?
Stones cost anything from a few euros to a few hundred. You probably won't sharpen hundreds of knives a month, so a simple stone is fine to start with. Our rule: don't spend more on your stone than on your knives.
Grit, in short
Grit tells you how coarse a stone is. A low number is coarse and takes off a lot of steel with each pass. A high number is fine and takes off very little.
120 to 700
Coarse. For repairing an edge with visible chips. Takes off a lot of steel.
700 to 2000
Medium. For normal sharpening. Takes off less steel, so you can work with care.
2000 and up
Fine. Polishes more than it sharpens. That extra polish wears off soon once the edge meets your board.
Our tip: new to sharpening? Get a medium stone of around 1000 grit. A combination stone, for example 1000 on one side and 4000 or 6000 on the other, gives you two grits in one. Is your edge badly chipped? Let a professional repair it.
Step by step
Let's get sharpening
Take your time. Go slowly and keep your fingers clear of the edge.
1
Soak the stone
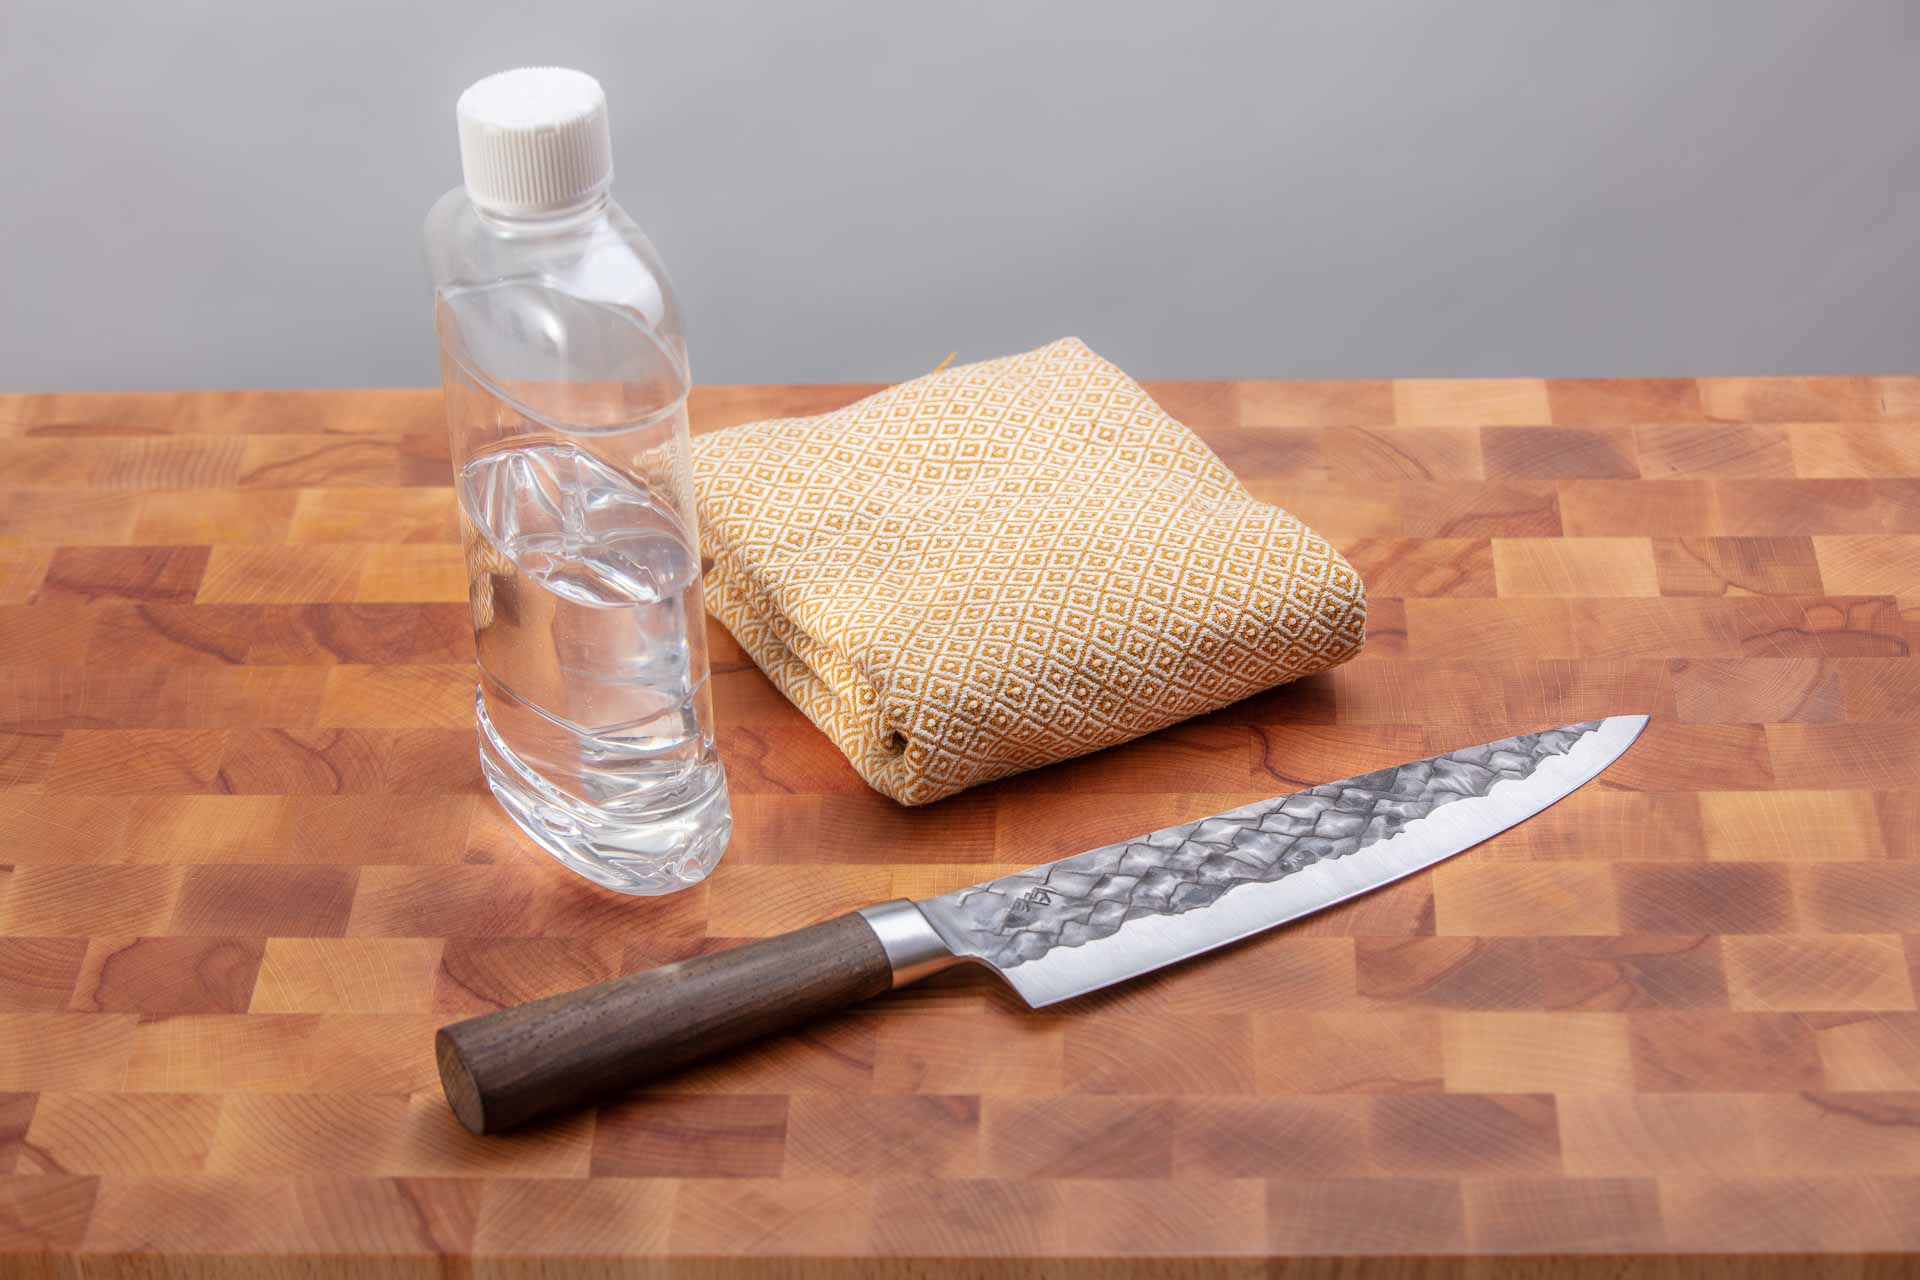
Put the stone in water for about 15 minutes. Some stones don't need soaking. These are called splash-and-go stones. If you have one, just wet the surface and move on.

2
Find the angle
Place the edge on the stone. BARE knives are sharpened at 15 degrees per side. A quick way to find that angle: put the edge on the stone and slide the tip of your thumb under the spine. That lifts the knife to roughly 15 degrees.

3
Sharpen the first side
Pull the knife towards you with even pressure, about 2 to 3 kg. Give every part of the edge the same amount of work. Either do the same number of passes on the tip, middle and heel, or cover the whole edge in each pass.

After a few passes, run your nail across the edge, at a right angle to it. Never along it. If your nail catches a little, you have raised a burr and this side is done for now. Usually that takes 10 to 15 passes. A duller knife needs more.
4
Flip it
Do the same on the other side until you feel a burr again. Splash some water on the stone now and then to wash away the steel particles.

5
Repeat with less
Keep switching sides. Each round, use a bit less pressure and fewer passes. For example 15 passes per side, then 12, then 8, until you are down to one or two.
6
Finish with light passes
End with 3 to 5 single passes per side, switching sides each time, with very light pressure. Cover the full length of the edge in every stroke. Then rinse and dry the knife.
Optional
Strop for a finer edge
Stropping polishes the edge a little further. An old leather belt does the job. Trap the buckle in a cupboard door, close the door and pull the belt tight. Run the blade over the back of the belt with the spine leading and the edge trailing, at about 15 degrees. Do a few passes per side, switching each time.
Careful: your knife is now sharper than you are used to. Take it easy the first few times you cut with it.
Keep reading