

In this article we will give you a quick introduction in to sharpening your own knives with a whetstone. If you're curious what other methods of sharpening there, here you go. Sharpening your own knives is an extremely useful skill to learn. You will able to sharpen everything in your kitchen with only a sharpening stone and a little water. Sharpening your own knives is certainly the most economic way to ensure your knives are razor sharp.
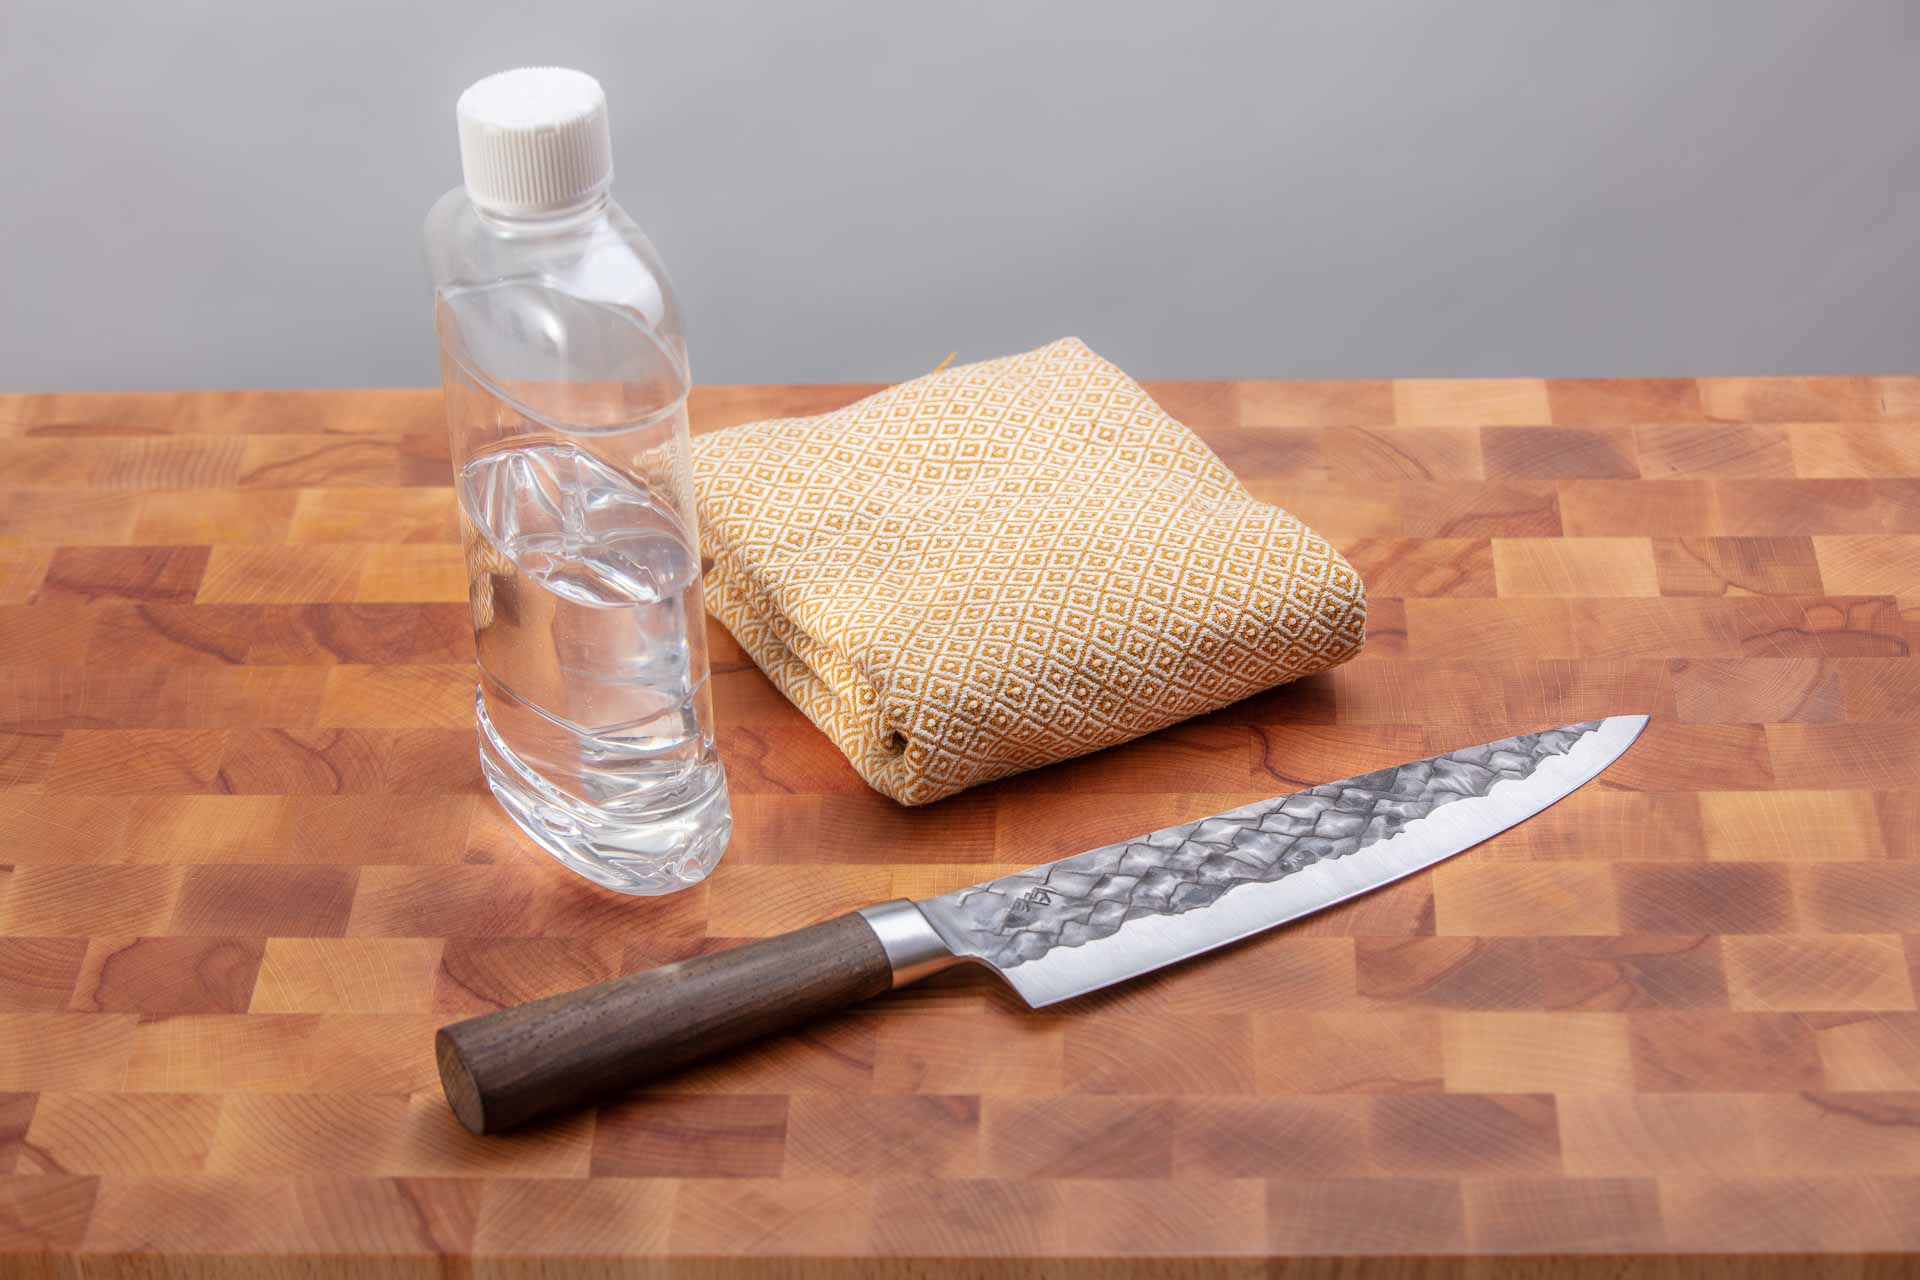
So what do you need? A knife, a whetstone and some water.

WHICH WHETSTONE DO I NEED?
We get this question a lot. Whetstones range from a couple of bucks to hundreds of euros. If you're reading this article you'll probably won't be sharpening hundreds of knives a month. So we would recommend getting a simple stone to start with. You shouldn't be spending more on your stones then you are spending on your knives.
WHICH GRIT DO I NEED?
Whetstones come in different grits, the lower the grit, the courser the stone is and the more material it removes on every pass. The higher the grit, the finer the stone. Generally three distinct ranges are defined
- 120 - 700 grit: This stones are used to restore a knifes edge. They remove a lot of material from blade. This is useful when there are visible chips along the edge of your blade.
- 700 - 2000: These stones are used to sharpen your knife. They remove less material then the courser stones which allows you to carefully sharpen the edge.
- 2000+: There are some very high grit stone out there. They generally do not contribute much to a sharper edge. A very high grit stone might make your knifes edge sharper. But because at that point the edge is so fine, the moment it comes into contact with your cutting board the fine edge is lost and you are left with the edge you created on your 700-2000 grit stone. These stones are therefore used more to polish the knifes edge then truly sharpen it.
Just getting into knife sharpening? get a medium grit stone, 1000 grit should do the trick. Is your knife damaged so badly the edge needs to be restored? Let a professional handle that.
You could also get a double stone. These stone come with two sides, for instance 1000 and 4000 or 1000 and 6000. This way you get two stones for the price of one.
LETS GET SHARPENING
Allright, we got everything we need. lets start sharpening.
1. THE SOAK
Before you start sharpening you need to soak your whetstones. Put them into a water bath for about 15 minutes. Some stones don't need to be soaked, so called 'Splash-n-Go' stones. If you have a stone of this type, skip this step.

2. FIRST PASSES
Put the edge of the blade on the stone. In the case of a BARE knife maintain a 15 degree angle. How much is 15 degrees? If you put the edge of the blade on the stone and the tip of your thumb under the spine, the knife will be at approximately 15 degrees.

Now pull the knife towards you while applying even pressure (about 2-3kg of pressure) over the whole knife. Try to make sure you sharpen every section of the edge the same amount. This can be achieved by first doing a equal amounts of passes on the tip, middel and heel of the blade or by covering the whole edge in every pass.

After a couple of passes run your nail over the edge PERPENDICULARLY, if your nail catches a little, this means you have created a burr. When this happens, this side of the knife is done for now. The duller you knife, the more passes you'll need to roll over the edge. Usually about 10-15 passes should do it.
4. FLIP IT
Now do exactly the same on the other side. Every once in a while splash some addition water on your stone to help cary away the steel filings. Once you feel the burr your done with this side.

4. RINSE AND REPEAT
Now keep switching between the sides of the knife. Slightly decrease the amount of repetitions and applied pressure each cycle. For example, if you started of with 15 passes on each side, do 12 the next cycle and 8 the following cycle etc. All the way until you're at one or two a side.
5. FINAL PASSES
When you finished all passes do single passes per side with very little pressure. In these passes you should be covering the entire length of the edge in every stroke. Do about 3 - 5 alternating passes.
Congratulations! You should now have a very sharp knife. Wash the residue of the knife and you're ready to get chopping.
6. STROPPING (BONUS)
If you want to get your knife really really sharp, you can strop it. After stropping you should be able to shave with your knife.
get an old leather belt and put the buckle in the corner of a kitchen door, close the door. The belt should now be nice and stuck in your kitchen cupboard. Now pull the belt tight and run the knife over the back of the belt. Maintain the approximately 15 degrees and do a couple alternating passes on each side.
Your knife should now be really really sharp. So be carefull!
If you want a more comprehensive guide, Joshua Weismann has a great one on Youtube.
Leave a comment
All comments are moderated before being published.
This site is protected by hCaptcha and the hCaptcha Privacy Policy and Terms of Service apply.